Create a Funnel in Systeme.io - Every Step From Goal to Live Link (2026)
Create a Funnel in Systeme.io: The Short Answer
To create a funnel in systeme.io, open the Sites area, go to Sales Funnels and click Create. Give the funnel a name, choose a goal (build an audience, sell, run an evergreen webinar or custom), pick your currency and domain, and systeme.io adds the starting steps. Then you choose a template for each step, edit the pages, connect forms to tags and email campaigns, set up the order form and test the whole path.
This guide builds a complete sales funnel: a sales page, an order form with an order bump, a one-click upsell with a downsell, and a thank-you page, plus the automation that delivers the product. If you only want a lead magnet funnel, follow steps 1 to 4 and step 9.
Build Along on the Free Plan
The free plan includes three funnels, order bumps, upsells and payment integration.
Try Systeme.io FreeBefore You Start
A funnel goes together much faster when the pieces are ready. Have these in place first:
- A connected payment gateway such as Stripe or PayPal, set up in Settings under Payment Gateways. See systeme.io payment gateways.
- The product to sell, such as a course, digital download or coaching session.
- Your copy: a headline, the benefits, what's included and the price.
- A sender email that's set up and authenticated, so confirmation emails arrive.
- Tags you'll use, such as "lead-guide" and "customer-course."
If you haven't done these yet, our systeme.io tutorial for beginners covers the setup order.
Step 1: Plan the Funnel on Paper
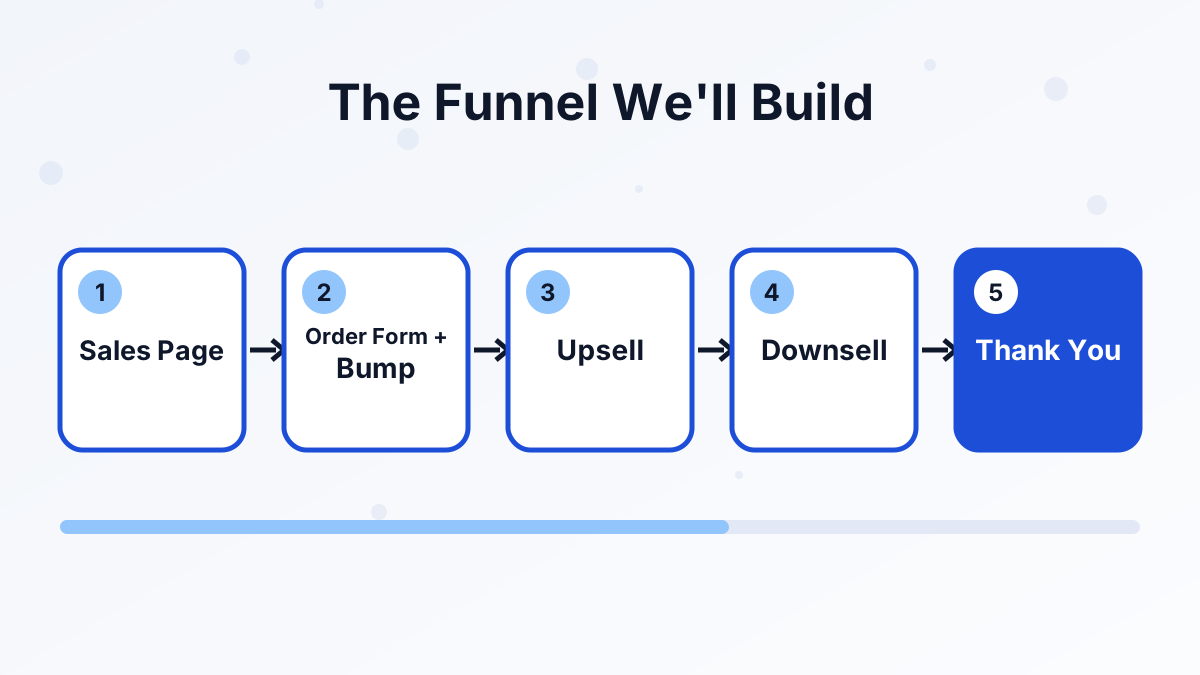
Sketch the path before you click anything. Write down each page, its single goal, and where the button leads. For this walkthrough, the plan is:
| Step | Page type | Single goal | Leads to |
|---|---|---|---|
| 1 | Sales page | Persuade the visitor to buy | Order form |
| 2 | Order form | Take payment, offer a bump | Upsell |
| 3 | Upsell | Offer a one-click add-on | Thank-you page, or downsell if declined |
| 4 | Downsell | Offer a lighter version | Thank-you page |
| 5 | Thank-you page | Confirm and explain access | Course or download |
A plan like this prevents the most common funnel bug: a button that leads to the wrong step.
Step 2: Create the Funnel
- Open Sales FunnelsGo to the Sites area and open Sales Funnels, then click Create.
- Name the funnelUse a clear internal name, such as "Course A – Sales Funnel."
- Choose the goalPick the selling goal for a sales funnel, or "build an audience" for a lead magnet funnel.
- Choose the currencyMatch the currency to your payment gateway and buyers. Products only appear in funnels that use the same currency.
- Choose the domainUse your custom domain if it's connected, or the default systeme.io domain for now.
- SaveSysteme.io creates the funnel with the starting steps for your goal.
Step 3: Add and Order Your Steps
Open the funnel to see its steps listed in order. You can add a new step, choose its type (such as sales page, order form, upsell, downsell or thank-you page), and drag steps to reorder them.
Name each step clearly, such as "Sales – Course A" or "Upsell – Coaching." Each step gets its own URL path; keep paths short and readable, such as /course-a or /course-a-order.
Step 4: Choose Templates and Edit Pages
Click a step to open its template gallery. Choose a template based on structure rather than colors, then open the editor.
In the editor, you work with sections, rows and elements. Replace every headline, paragraph and image with your own content, set your brand colors and fonts, and remove sections you don't need. Preview the mobile view before saving; many visitors will see your page on a phone.
For the sales page, follow the order a careful buyer thinks in: the problem, the result, what's included, who it's for, the price, any guarantee you genuinely offer, and FAQs. Our guide on how to write a sales page walks through each section.
Step 5: Set Up the Order Form
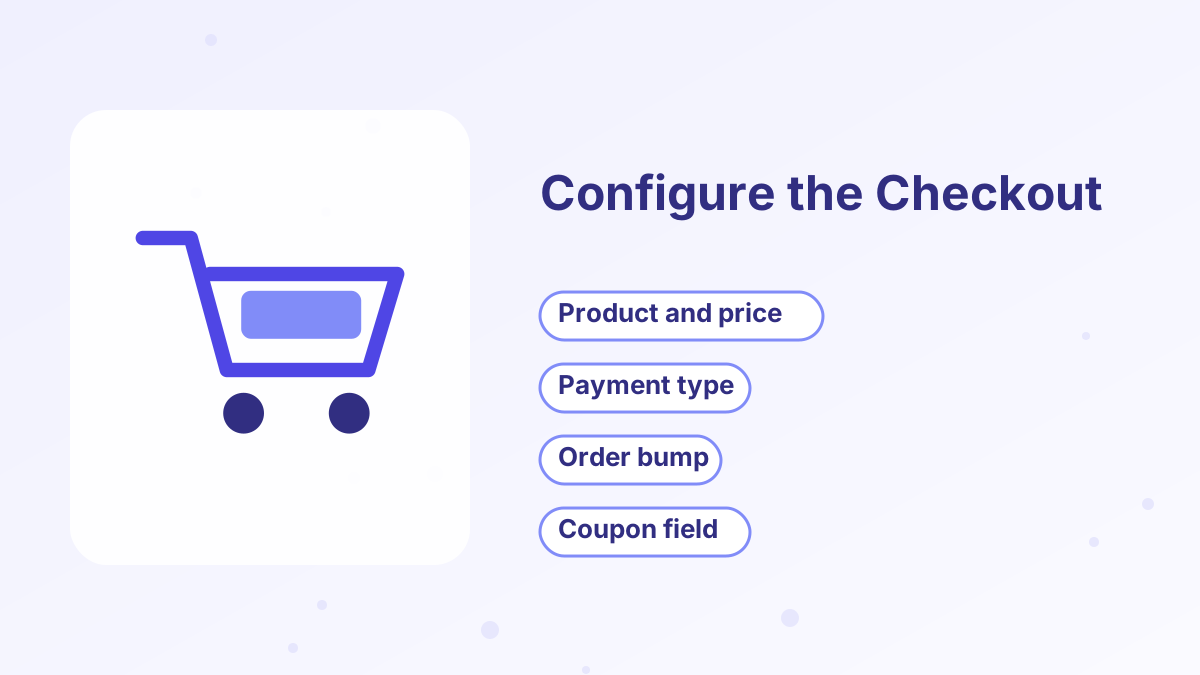
The order form is where the funnel earns money, so check each setting carefully:
- Attach the offerIn the order form step's settings, add the product and its price plan.
- Choose the payment typeOne-time payment, payment plan or subscription, depending on your offer.
- Add an order bumpChoose a small add-on product, set its price and write a one-line headline such as "Yes, add the workbook for $17."
- Place the order bump elementIn the page editor, put the order bump element just above the payment button.
- Decide on couponsIf you'll run promotions, make sure buyers have a place to enter a coupon code.
- Set what happens after paymentPoint the order form to your upsell step.
Systeme.io charges 0% transaction fees, so only your payment gateway's fees apply. More detail is in our order bumps and upsells guide.
Step 6: Build the Upsell and Downsell
Add an upsell step right after the order form. Attach the upsell product and price; because the buyer's payment method is reused, they can accept with one click.
Keep the page short: one headline, a few lines on why this add-on helps them get the result faster, an "accept" button and a "no thanks" link. Link the "no thanks" option to a downsell step if you have one, otherwise to the thank-you page.
A downsell offers a lighter version of the upsell, such as recordings instead of live coaching. Use it only if it's genuinely useful; one upsell and one downsell is plenty for most funnels.
Step 7: Finish With the Thank-You Page
The thank-you page should confirm the purchase and remove any confusion about access. Tell buyers exactly what happens next: "Check your inbox for your login details," "Click below to start lesson 1," or "Book your first session here."
This is also a good place to invite buyers to your community or to follow you somewhere useful. Don't add another sales pitch here; they've just bought from you.
Step 8: Connect Delivery and Automation
Now make sure buyers actually get what they paid for. Depending on your product, that means:
- Course access: enroll buyers in the course automatically when they purchase.
- Tags: add a "customer" tag so you can email buyers separately and stop sales emails.
- Emails: start an onboarding sequence that helps buyers use the product.
- Bump and upsell access: make sure each add-on also grants access to what it includes.
You can set some of this in the funnel step settings and the rest with automation rules. On the free plan you have one automation rule, so use it for the most important job, usually enrollment. See systeme.io automation rules.
Step 9: Page Settings, Testing and Launch
Before going live, open each step's settings and fill in the page title and meta description, especially for any page that might be shared or found in search. Add any tracking codes you use for ads or analytics.
Then test every path:
Buy With Everything
Purchase the main offer with the bump, accept the upsell, and check every access email.
Buy and Decline
Purchase without the bump, decline the upsell, and check that the downsell and thank-you pages work.
Mobile Check
Repeat one path on a phone to catch layout problems.
Email Check
Confirm receipts and onboarding emails arrive and links work.
When everything works, share the first step's URL in your emails, content and ads.
Step 10: Watch the Numbers and Improve
Once visitors arrive, check the funnel statistics for each step: visits, opt-ins or sales, and how many people move to the next step. The step with the biggest drop is your first thing to improve.
If the sales page converts poorly, test a new headline or offer with A/B testing. If few buyers take the bump, make it more closely related to the main product. Our guide to sales funnel metrics explains which numbers matter most.
Troubleshooting Common Funnel Problems
Products don't appear in the order form. Check that the product and funnel use the same currency, and that a payment gateway is connected.
Buyers don't get access. Check the course enrollment setting or automation rule tied to the purchase.
Emails don't arrive. Check that the contact is enrolled in the campaign, and that your sender email is authenticated.
Buttons go to the wrong page. Check the links between steps in each step's settings and in the page editor.
For more fixes, see our systeme.io troubleshooting guide.
Create a Funnel in Systeme.io FAQs
How many funnels can you create on the free plan?
Three. Startup allows 10, Webinar allows 50 and Unlimited has no cap.
Can you change a funnel's currency later?
Plan the currency before you build, as products only appear in funnels with the same currency. If you need a different currency, create a new funnel for it.
Can you add an upsell on the free plan?
Yes. One-click upsells and order bumps are part of the funnel builder on every plan.
How do you connect a funnel to an email sequence?
Assign the campaign in the opt-in or order step settings, or create an automation rule that subscribes contacts to the campaign.
Can you copy a funnel?
You can duplicate pages and reuse funnels, and funnels can be shared between accounts and sub-accounts.